Your photo server runs Immich: a private photo and video library for you and your family. Timeline, albums, a map of where photos were taken, and search by words like “beach” or “birthday cake”. Your photos stay on your server, not in a big company’s cloud.
1. Ask for a photo server
Every photo server is checked by a person before you can order it, so we only sell space we really have. Sizes and prices are on the photo hosting page. Open a ticket with the subject Photo hosting and tell us:
- the email of your client area account (no account yet? create one)
- about how much you want to store, for example 100 GB
- who will use it: just you, or your family
2. Wait for approval
We usually reply within 1 business day. Sometimes it takes longer: on weekends and holidays, or when we first need to add storage for you. You don’t pay anything until it’s approved.
Once approved, you get a private order link in your ticket.
3. Order and open the panel
Order through the link. A minute after paying, your photo server is in the game panel (same login as the client area).
4. Press Start
Open your server. The console page shows Your photo server with its address, and four first steps. Press Start.
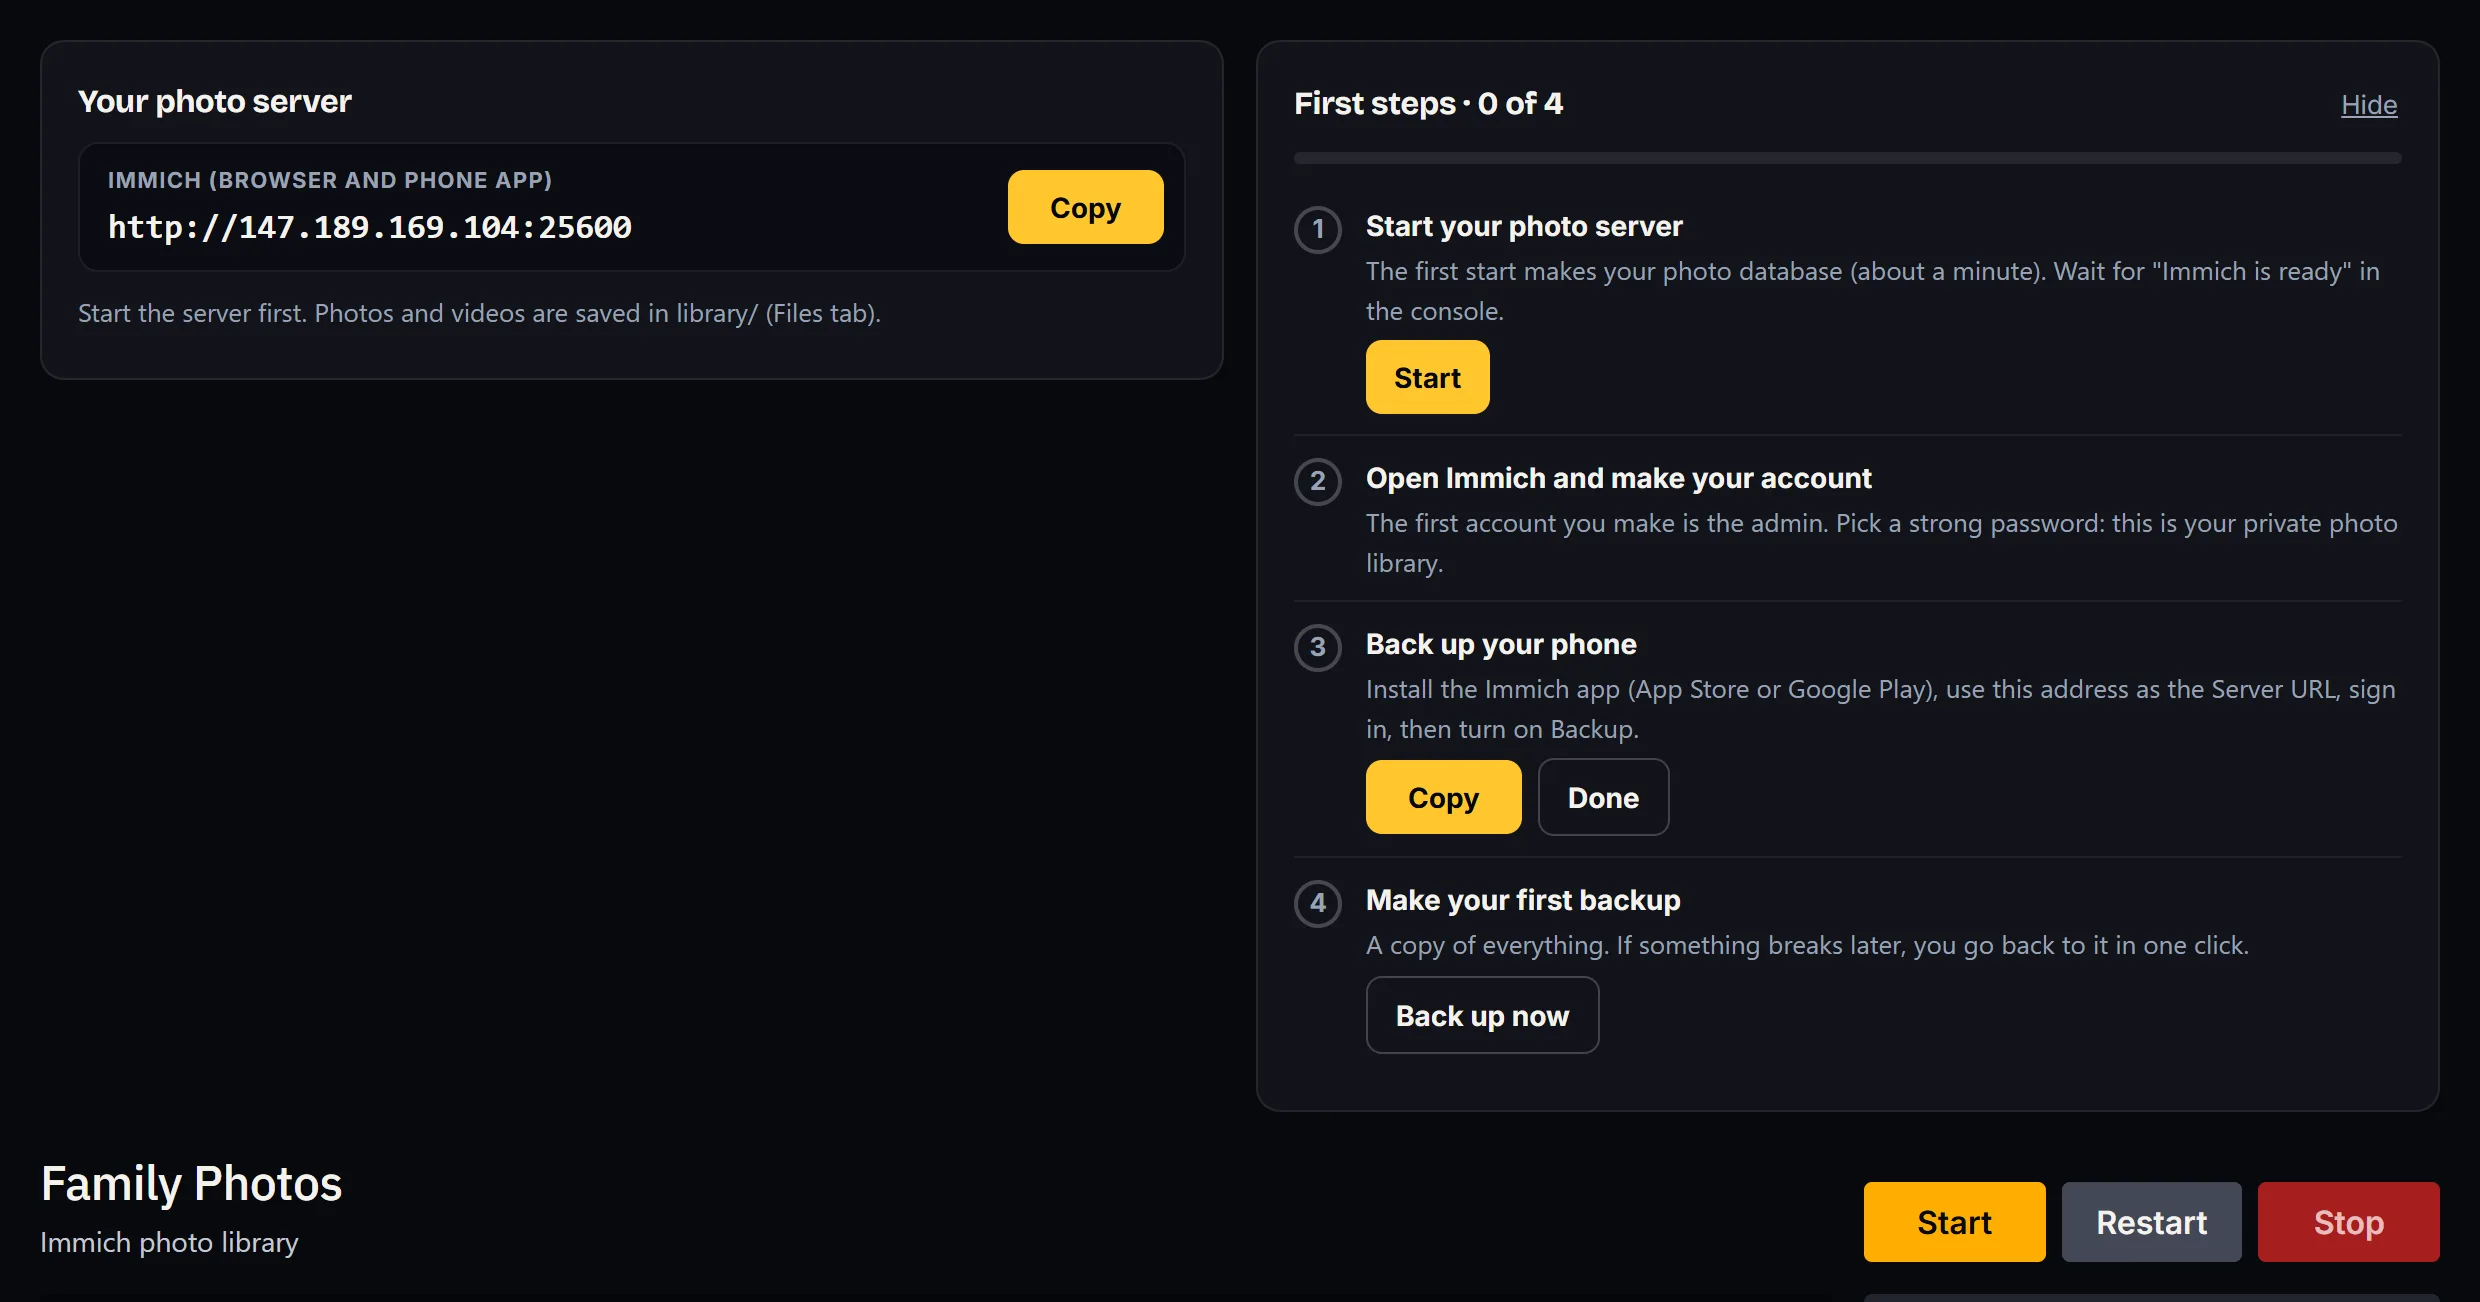
The first start creates your photo database. It takes about a minute. You’re ready when the console says Immich is ready:

5. Open Immich and make your account
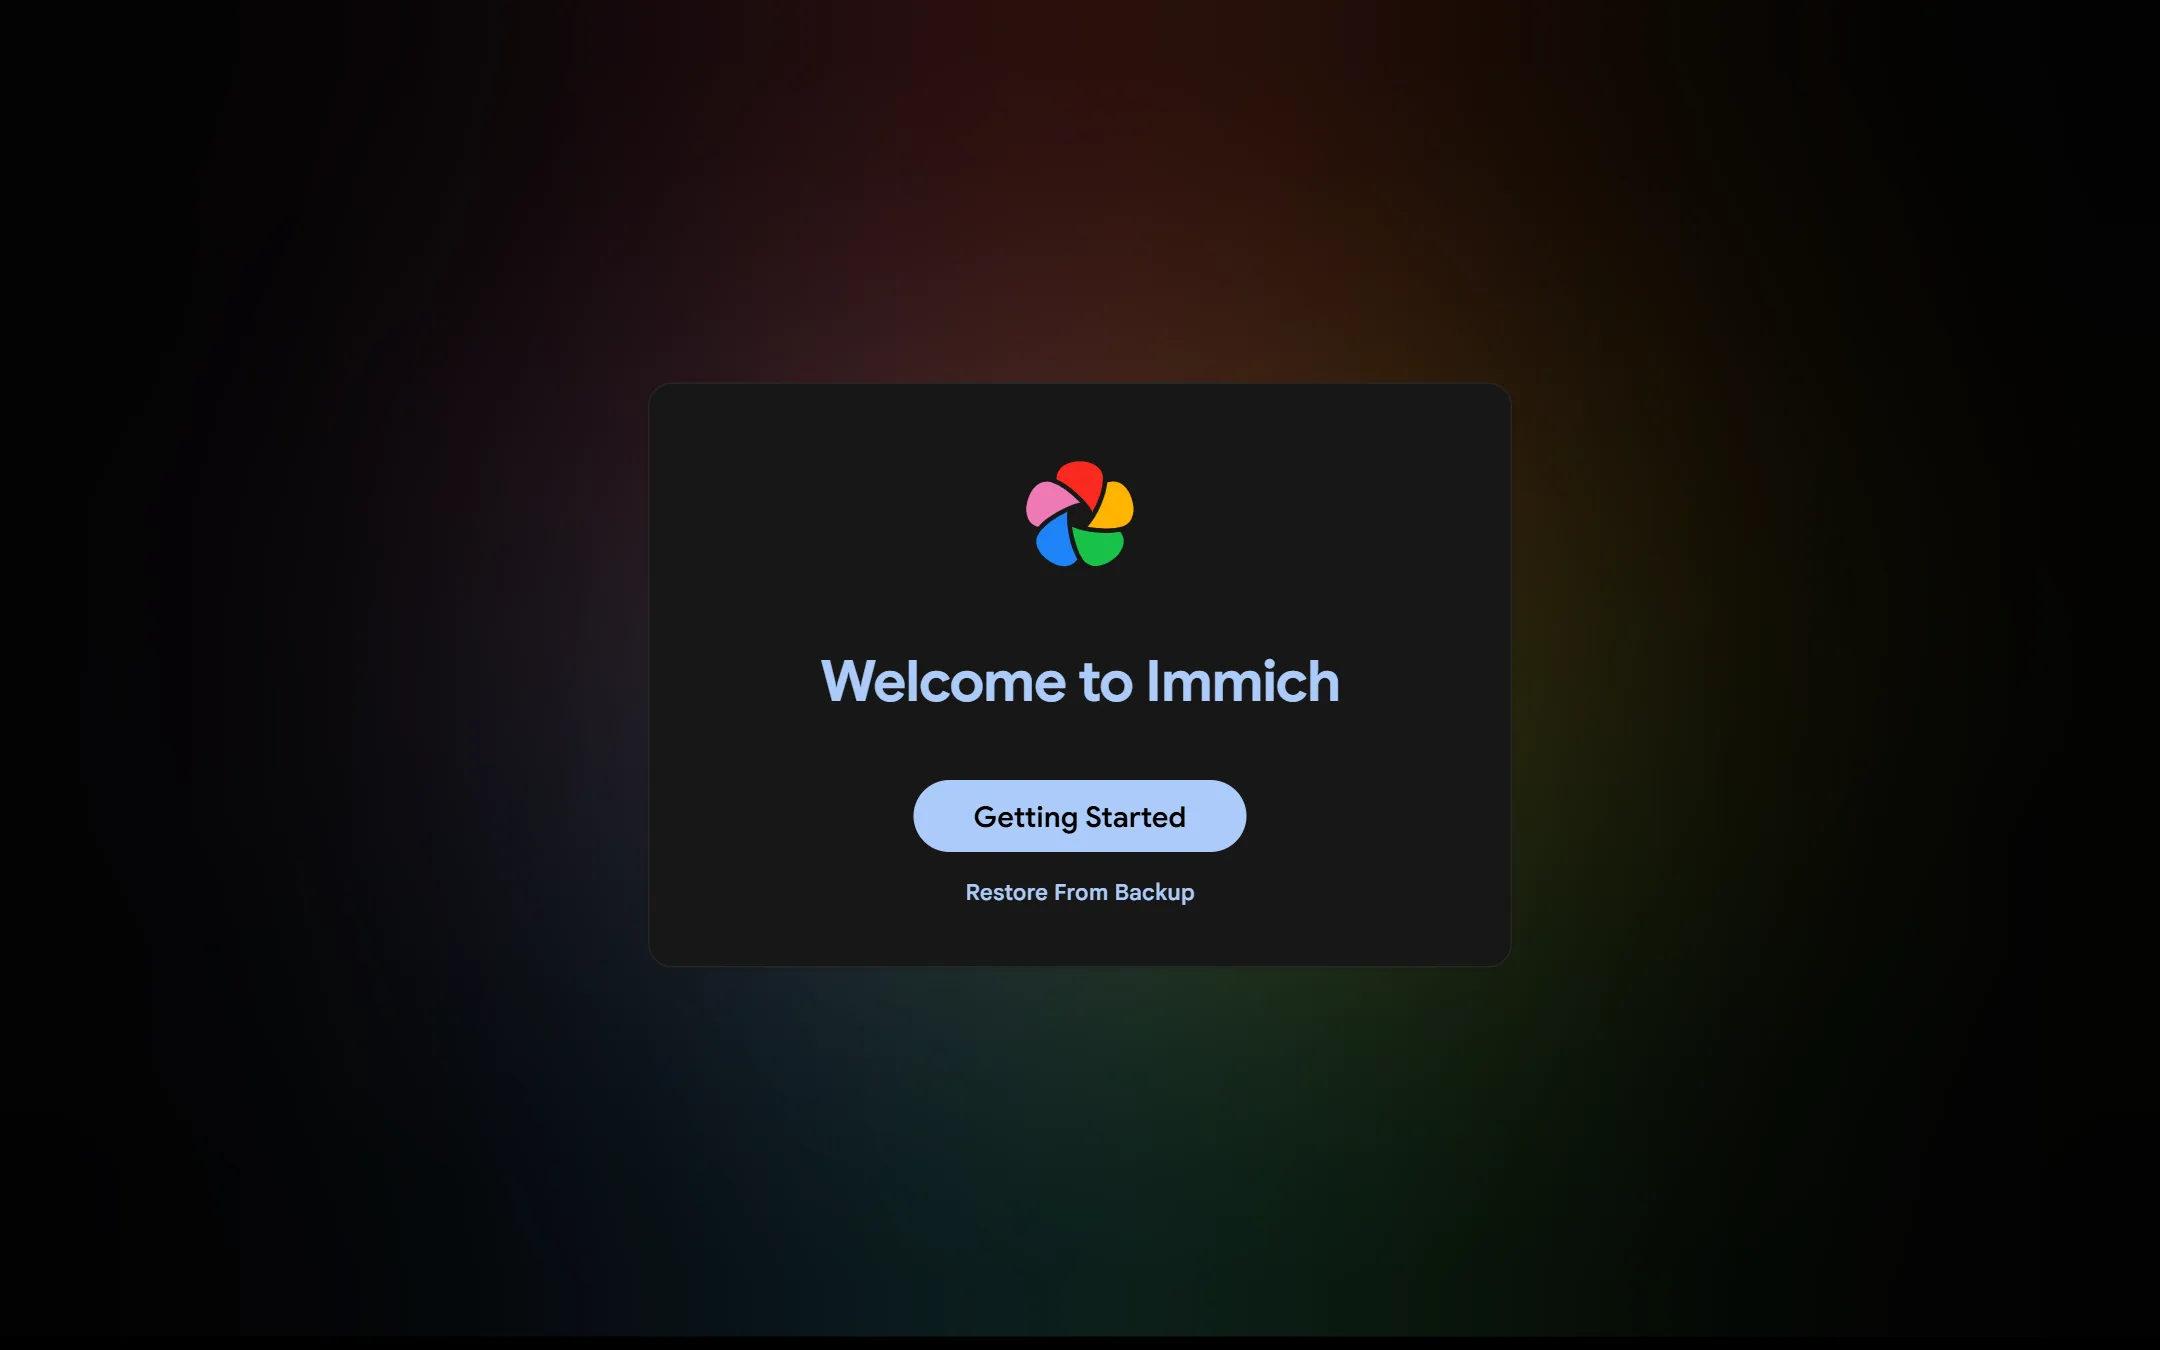
Press Open on the card (or copy the address into your browser). Immich shows Getting Started. The first account you make is the admin: pick a strong password, this is your private library.
6. Add your photos
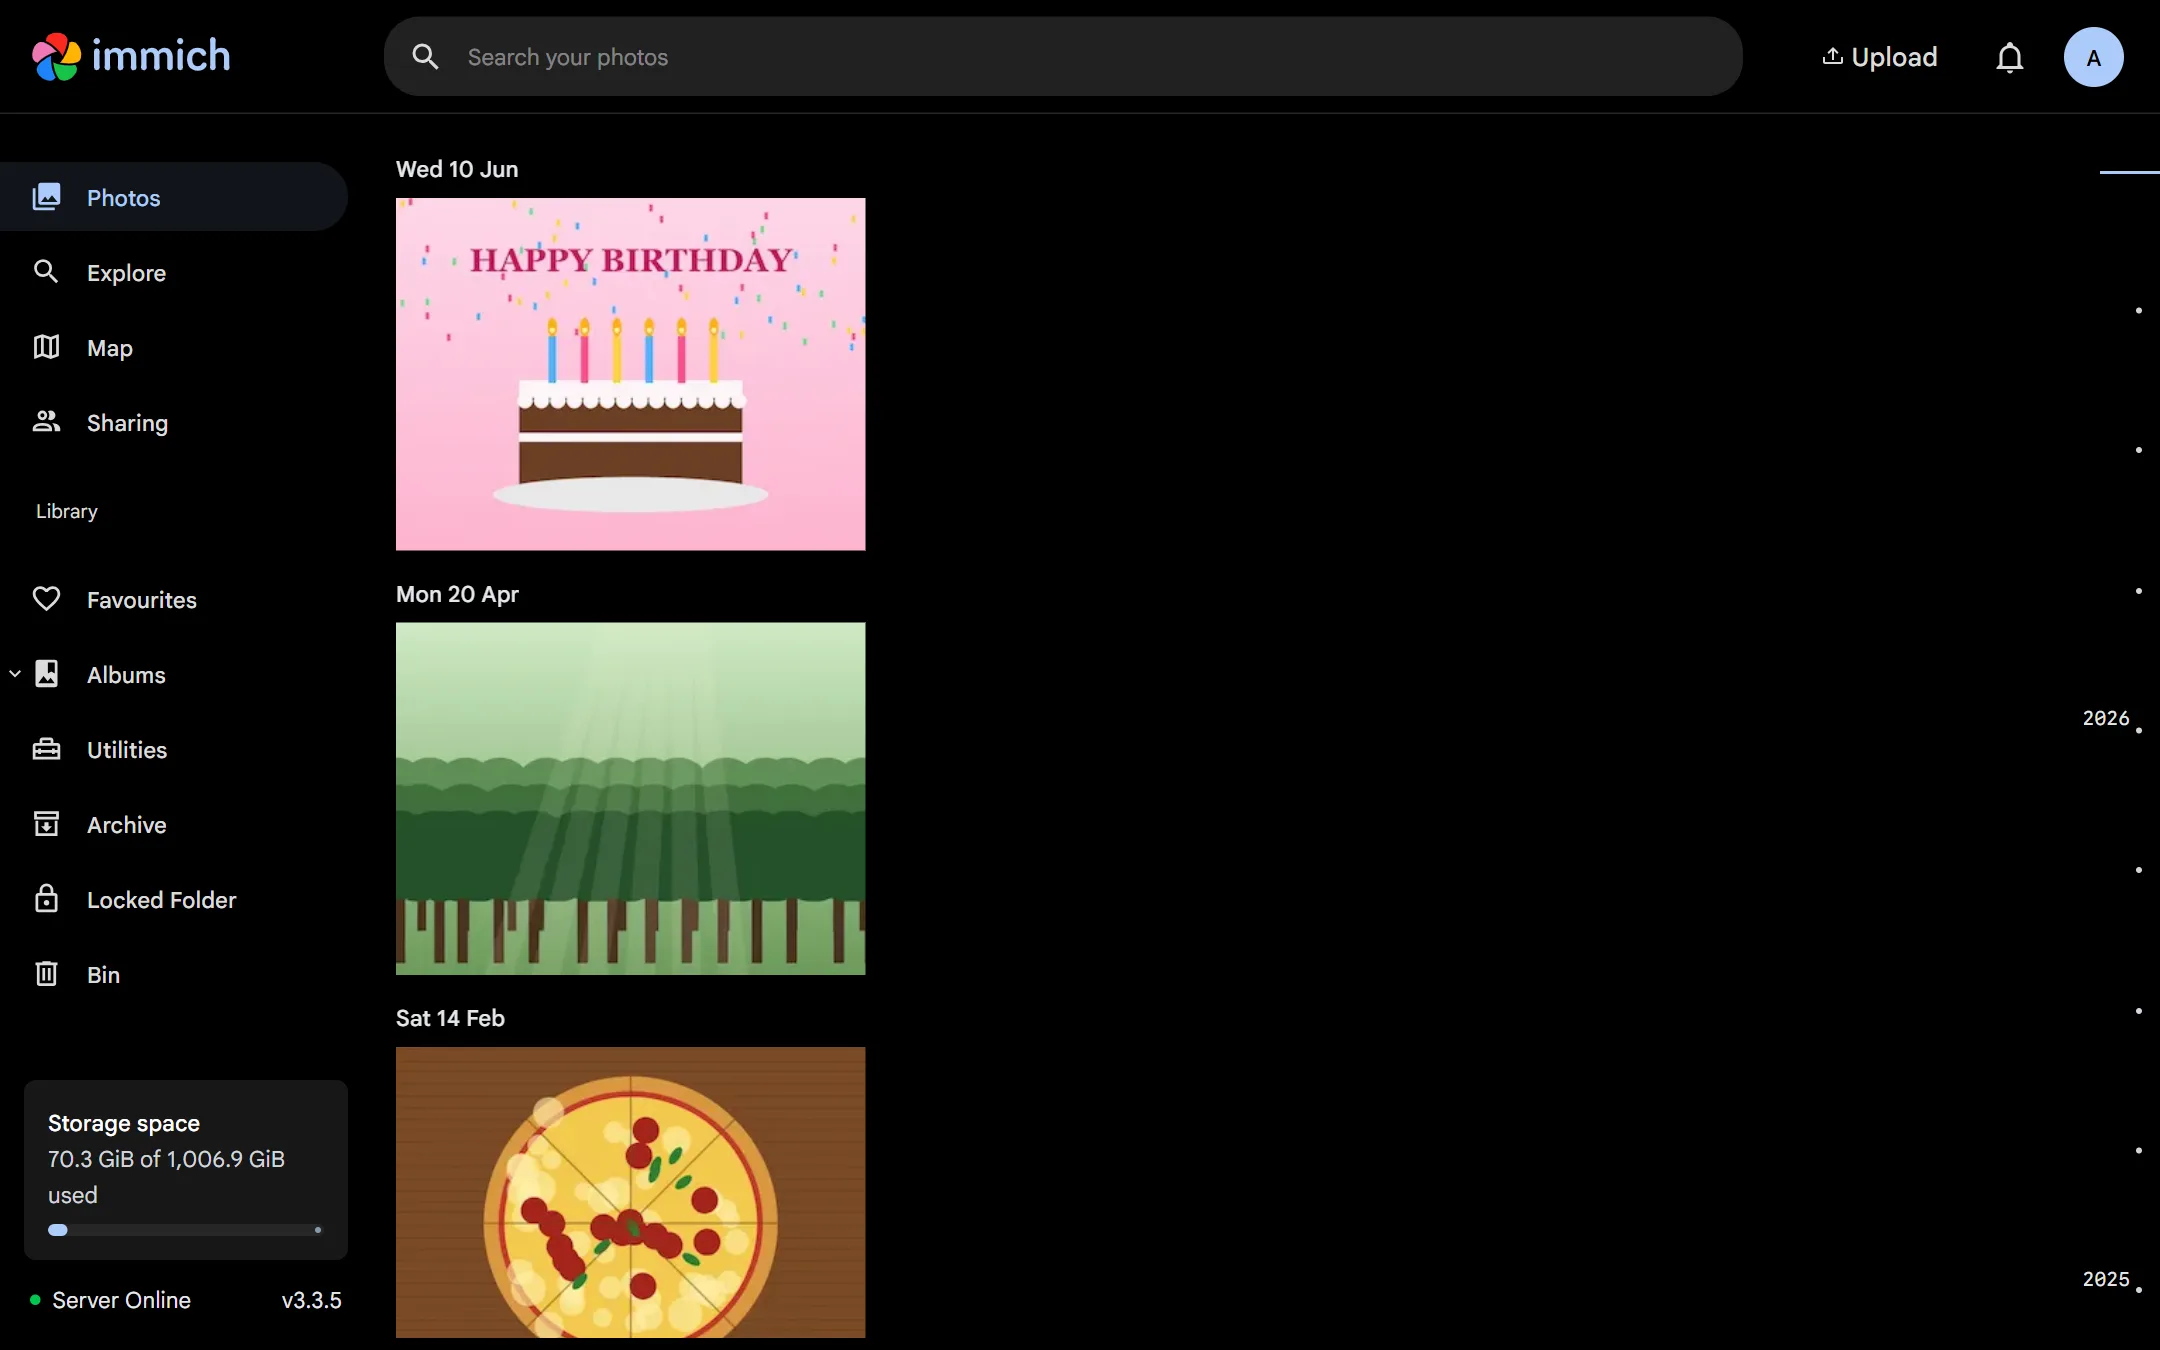
Drag photos and videos onto the Immich page in your browser, or back up your phone with the Immich app: see Phone backup and passwords.
Good to know
- Where your photos are: in
library/on the panel’s Files tab. Don’t move or delete files there by hand, use Immich for that. - How much space you use: Immich’s storage bar shows the whole machine’s disk, not your plan. Your plan’s space is the Disk number on the panel console.
- Smart search and faces: on by default. To make the server lighter, switch it off in the panel’s Startup tab and restart.
- Backups: the panel’s Backups tab saves your photos and database (thumbnails are left out, Immich makes them again). For photos you can’t lose, keep a second copy on your own computer or drive too.
- Stuck? Open a ticket and pick your photo server. We’ll take a look.