Make a backup first (Backups → Create backup), so you can always go back.
Upload a singleplayer world
- On your PC, open your Minecraft folder: in the launcher, go to Installations, hover your installation and click the folder icon. Open
saves. - Right-click your world’s folder and make a
.zipof it. - On the panel, Stop the server.
- Open Files. Rename the old
worldfolder toworld-old(or delete it if you’re sure). - Click Upload and pick your
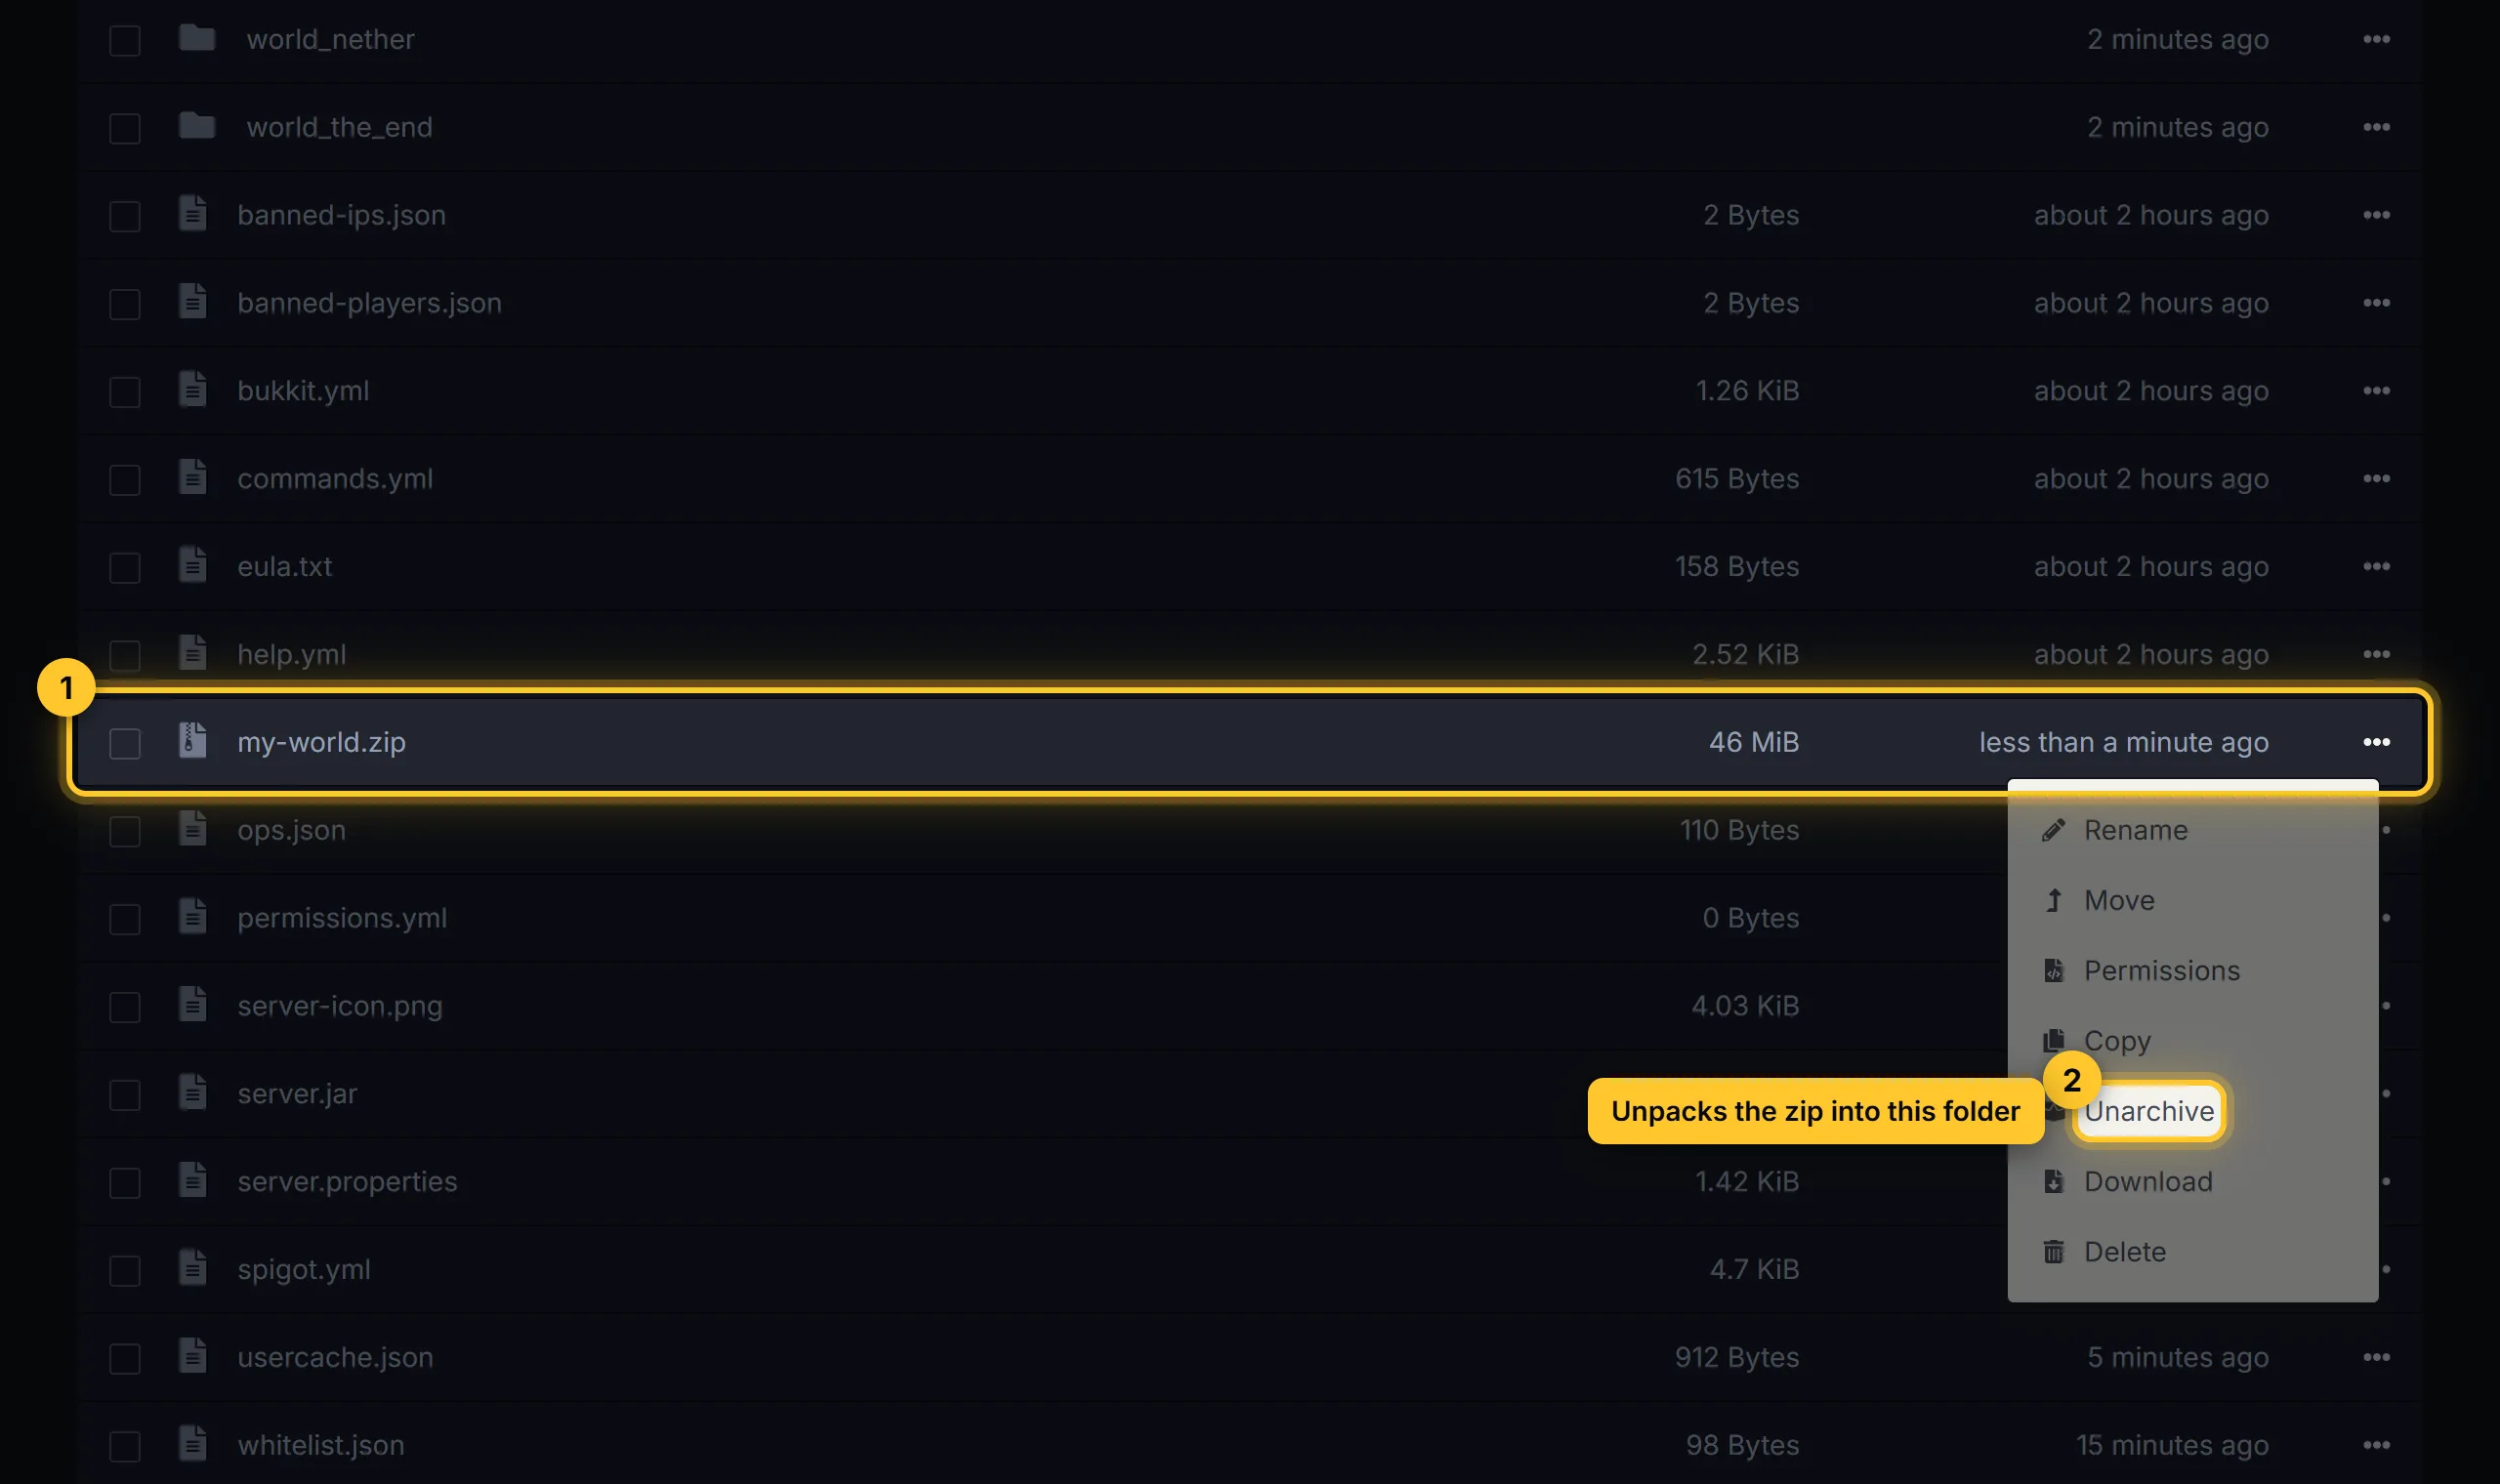
.zip. When it’s done, click the zip’s menu (⋮) and choose Unarchive. - Rename the new folder to
world. Check thatlevel.datis directly inside it, not in a subfolder. - Start the server.
On Paper and Purpur, the Nether and End of a singleplayer world are moved to world_nether and world_the_end automatically on the first start.
World bigger than a few hundred MB? Upload it with an FTP app instead. See Upload files with SFTP.
Bedrock worlds can’t be used on a Java server. Java players and Bedrock players can still play together with Geyser.
Download your server’s world
Stop the server, open Files, tick the world folder, then choose Archive. Download the new .tar.gz file from its menu (⋮). You can also download a backup from the Backups tab.
Start a new world
- Stop the server.
- In Files, delete
world,world_netherandworld_the_end. - Want a specific seed? Set
level-seedinserver.properties. See server.properties explained. - Start the server. A new world is created on the first start, which takes a little longer than usual.